
From a File to a Knife - For Dummies Like Me
My apologies first: This is not a tutorial on forging or even on decent knife-making. Nope, this is just for the guys like me that wants to tinker, make something useful and feel happy about it. Unlike real knife forging, what I do is to take away metal from a strip of steel until it looks like a knife and until it can cut reasonably well. The trouble I used to have is to find metal that will stay sharp and is reasonable to work with. We all know a file is hard – really hard. So it will stay sharp very long but it WILL break when abused and it is a real pain to work with because it eats abrasives when you try to shape it.
What to do, what to do?
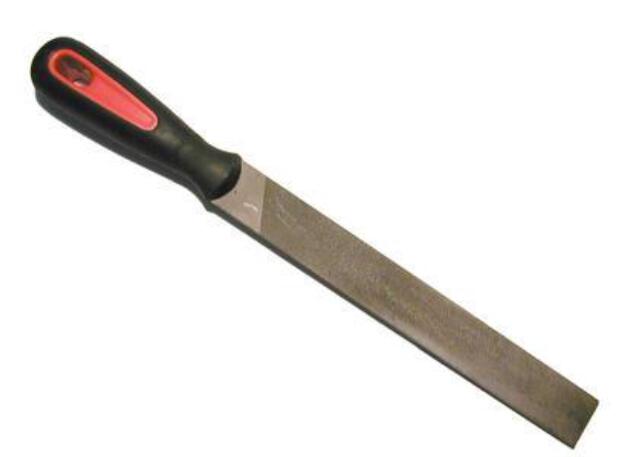
Allow me to walk you through some tips that work for me: Start with an old file, a broken file or just go buy a cheap file at the hardware-shop.
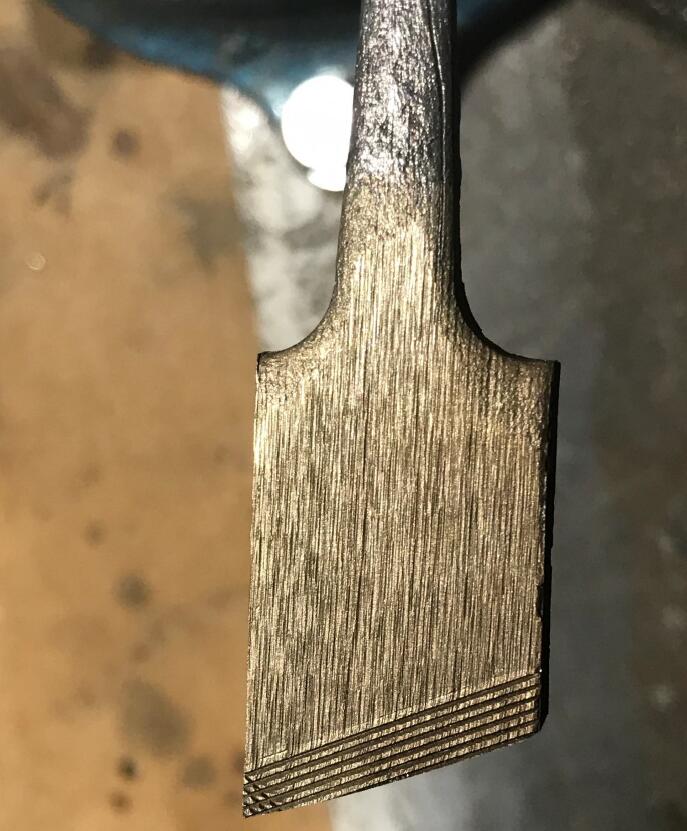
Below is a piece of a file that was left after an experiment, I’ll use this to illustrate the first and probably most important step: heating.
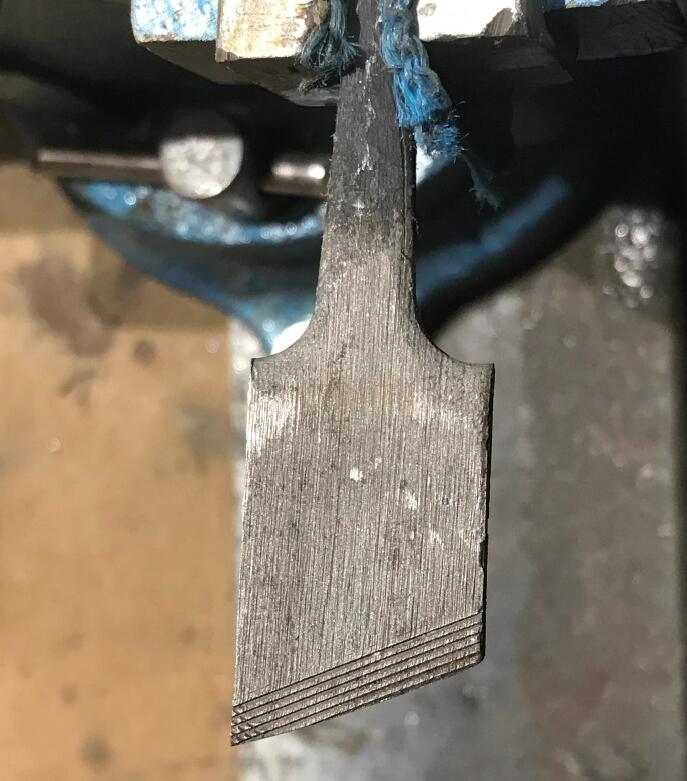
Before throwing it in the oven it is a good idea to clean it with a wire-brush to remove old metal shavings or rust.
With the metal somewhat more shiny, we can get the oven ready. What oven? That one in the kitchen - be it grill or hot-air. You really do not need more than that old Defy next to the kitchen zink.
What we want is a temperature of 204 degrees Celcius (give or take) or 400 degrees in Fahrenheit. Pre-heat the oven and set it for 2 hours.
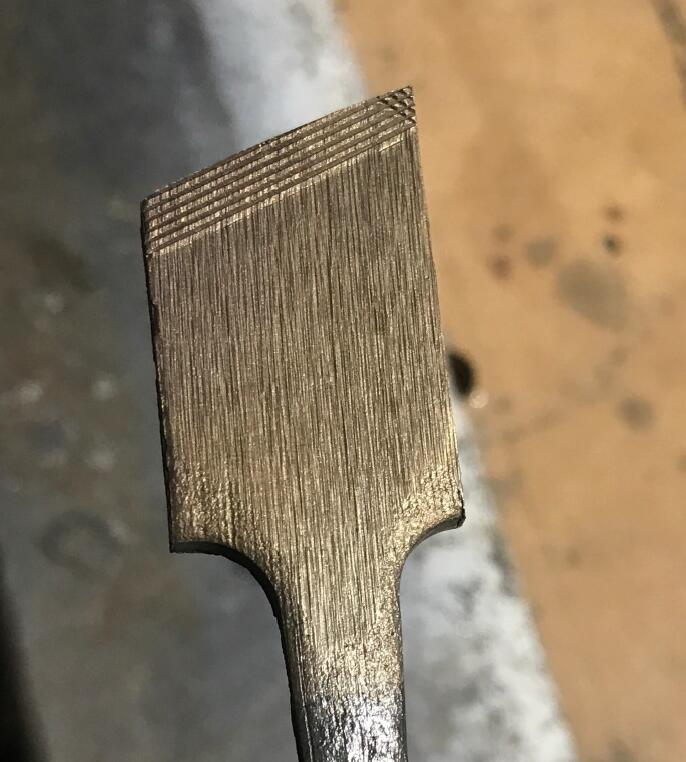
After this you will notice the metal has changed color from grey to a golden caramel color.
It is a good idea to do this before shaping the file because this treatment will make the metal slightly less hard, less brittle (it is more difficult to break or crack) and allround tougher. Plus it will be a lot easier to grind and shape. It still might not be a good idea to try and file because it might ruin your file, but feel free to try.
Does it need to be cooled in oil or water? Nooo…just let it rest at room temperature till you can handle it by hand.
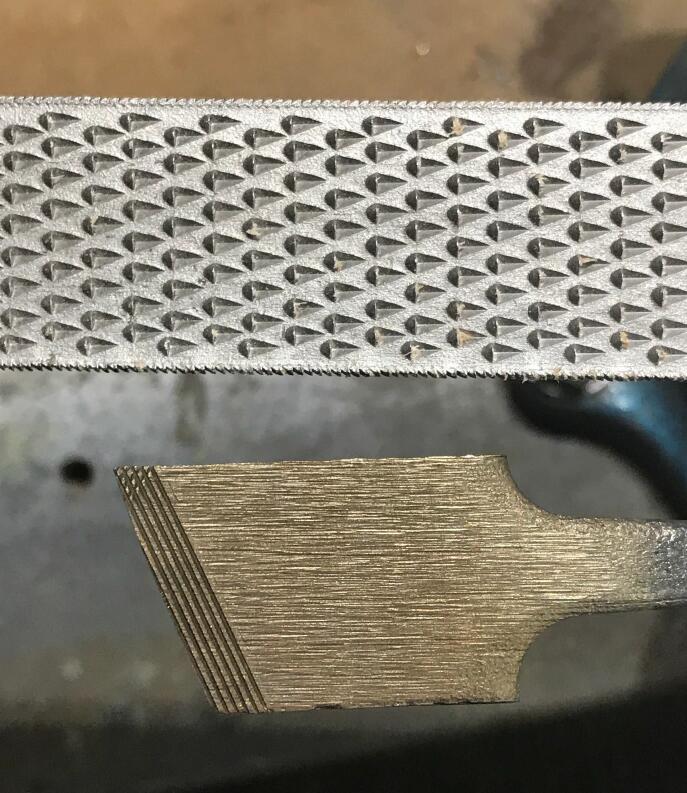
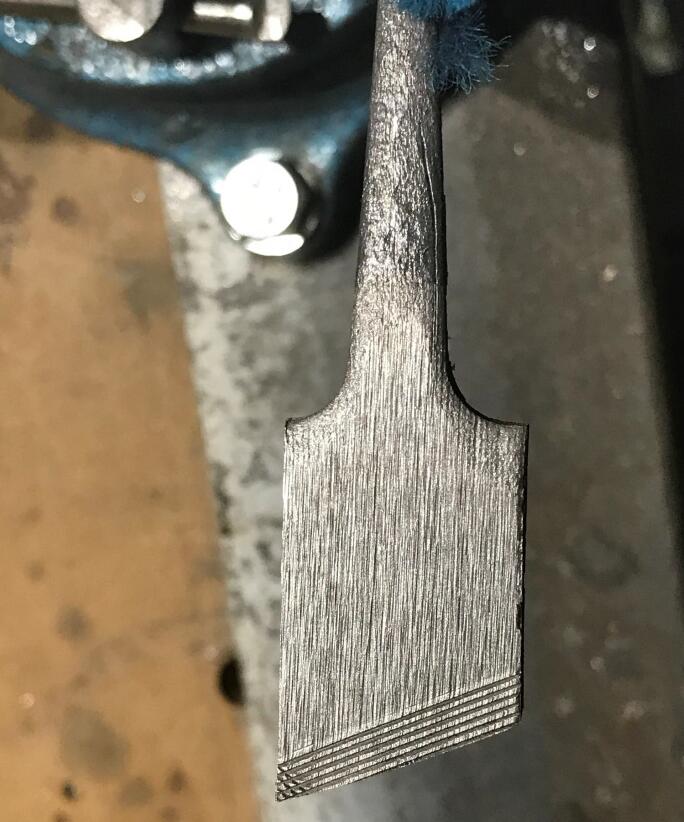
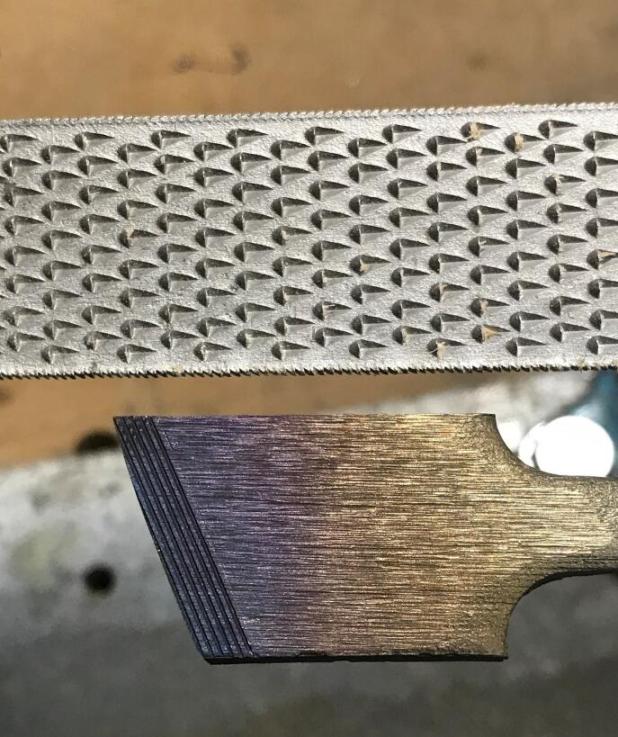
As reference here is a comparison between a normal file and the heated one – notice the color change?
What happens when you heat it too much? Well if you get to the point where it becomes blue or purple, you have created scrap-metal. Without a forge you have no way of repairing what has now become a useless metal piece so be careful when grinding – take it slow!
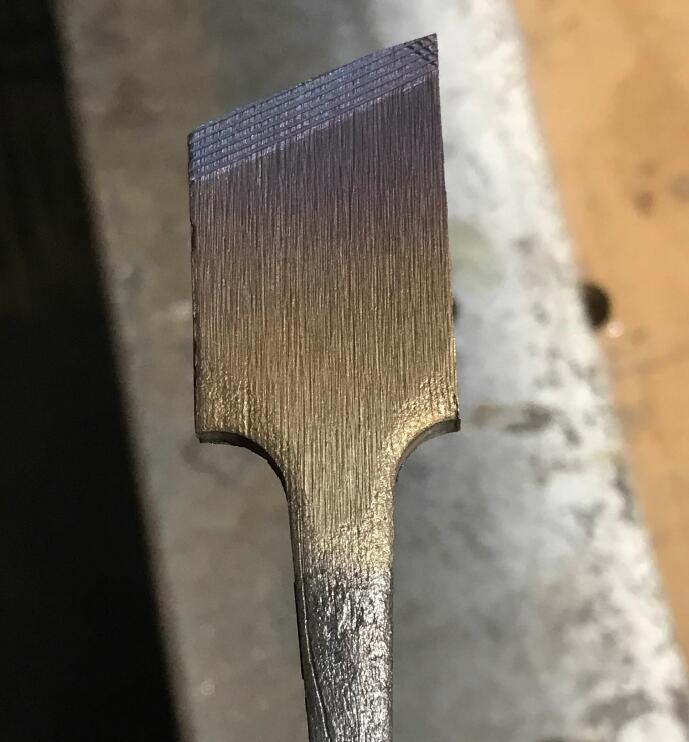
Just for fun and good science I heated it for you guys to show you the nice color you DO NOT WANT TO SEE on your knife.
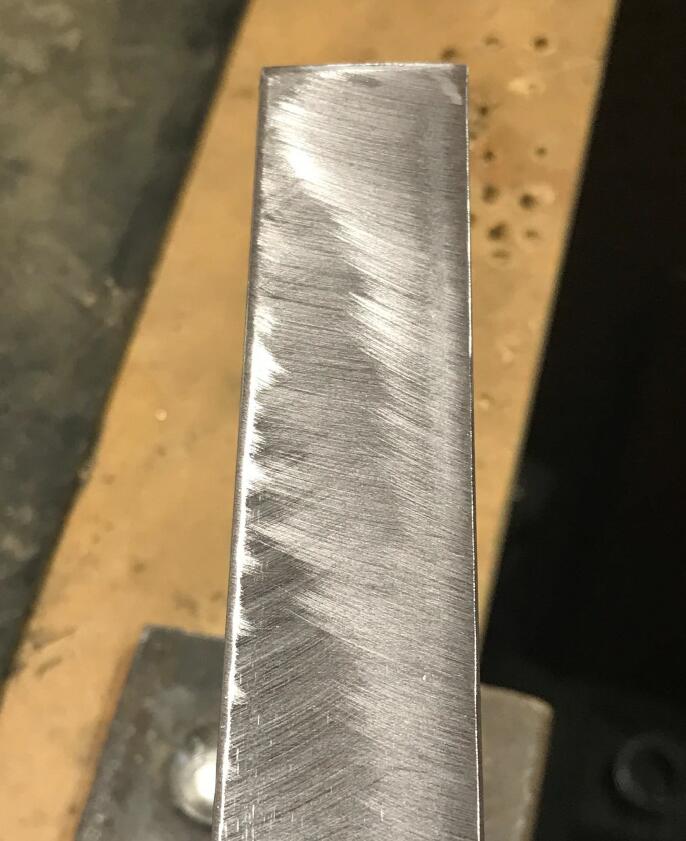
Now you have a piece of metal to play with. How you shape your knife really is up to you and what you have as tools in your shed. I advise a 125mm (5”) angle-grinder, a bench vice or clamps to hold the metal in place, a Dremel is very handy, a wetstone of sorts and/or sandpaper with a 600 grain.
It is handy to fold the sanding paper on a rectangular piece of wood of around 100mm (4”) by 50mm (2”) and say 25mm (1”) thick and use this to sharpen your knife. Feel free to use a finer grid paper, but in reality you are good with 600-grid. I find one of those flappy-discs handy to smooth the sides (bevel) of the blade. I’m not going to tell you how to use your tools or what shape to make the blade into, just go with what you feel and enjoy the process.
Again please take it slow with the grinder because you do not want to heat things too much. (watch out for the pointy bits where the metal is thin because that seems to heat up much- much faster than you might think.
When is your knife sharp?
This question is what bugged me for some time and I experimented quite a lot so here’s my non-scientific and non pro tip; After you have shaped your bevel into something that looks like a cutting edge and you are ready to sharpen your knife. Start with one side and smooth it on your wetstone or sanding paper. Stay on that one side until you are happy that it is smooth and it has a straight and flat edge. A tip is to start with strokes length-wise along the side – this will ensure you have a flat surface. When you are comfortable with keeping a steady hand you may try the more usual side to side movement we are all familiar with and have seen in countless clips.
When this one side is done, flip the blade over and get going until the cutting edge starts to feel like business…Go ahead and test it with your finger, we all do it! Does it feel sharp? Awesome! Does it cut a piece of meat or whatever? Great! But can it be sharper? Can it cut paper, can it shave your arm-hair? Well?
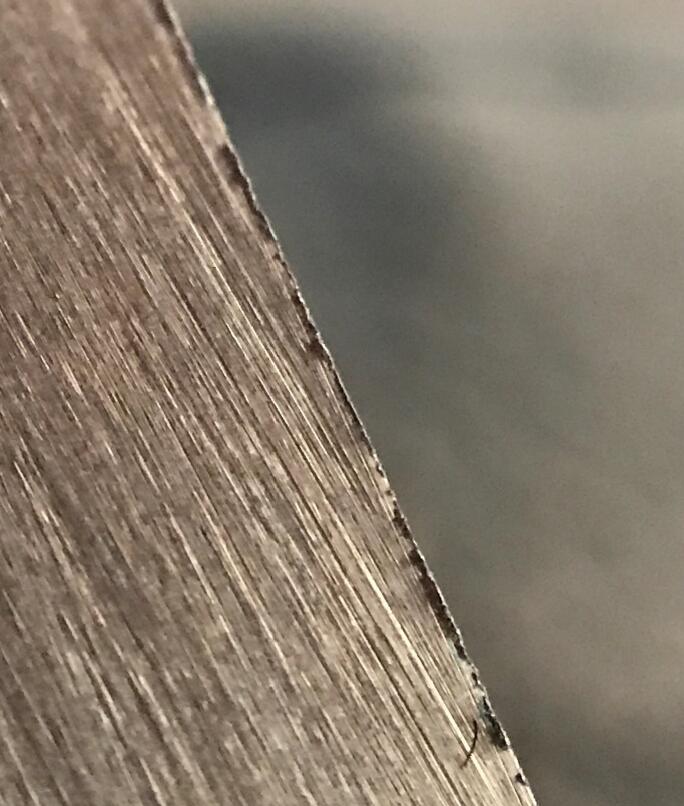
Back to that wetstone/paper. After some time you might test it again with your thumb and @#$%! it is not as sharp as it was!!! Well…well done! What has happened is that the cutting edge has made a small fold. Have a look at the picture. This is an exaggerated view of what happened with your blade – THIS IS A GOOD THING!
Flip your blade to the other side and very lightly run that part over your wetstone. (Yea "stropping" is done with leather or porcelain or the polishing wheel of your Dremel but a simple light stroke on the stone really will work the trick.)
This will give you a blade as sharp as it will get.
Remember this is NOT a stainless-steel blade so it WILL rust and stain, but it really do make a very robust and handy tool so treat it as such and be proud of what you made.
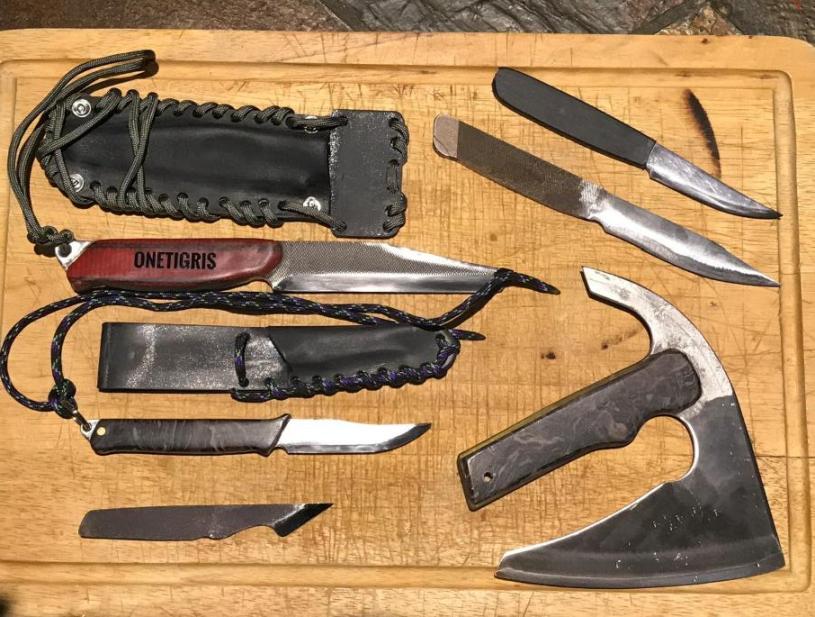
Below is a small knife I made for my youngest to play with and get used to band-aid and the taste of her own blood – you know how these things go…
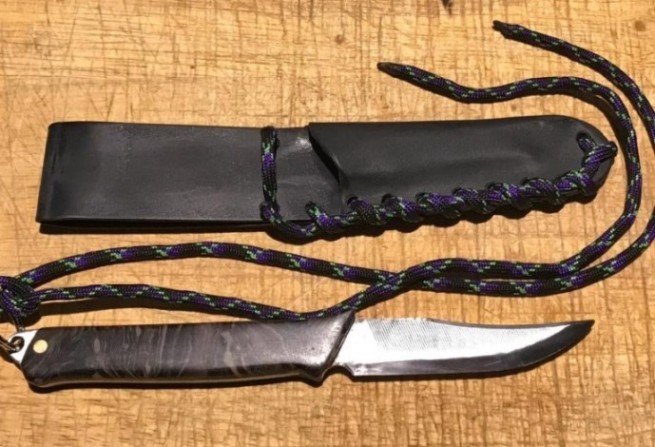
Here’s my tool – I chose a chisel-point and a simple straight edge so it can carve wood and cut good – the less pointy edge makes the knife less prone to breaking when abusing it.
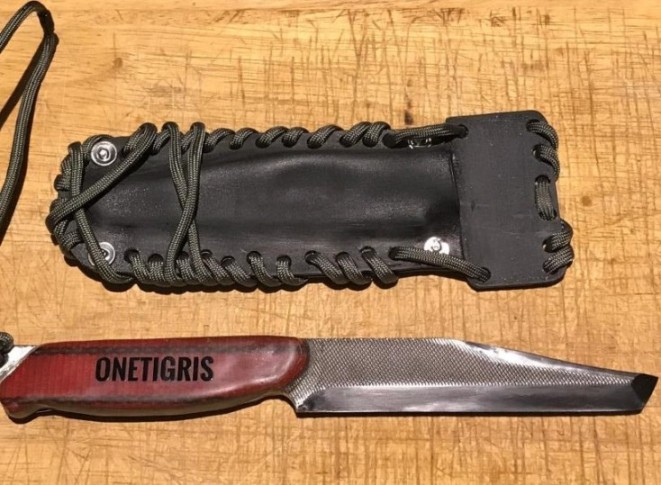
Credit: @Sandspoor, OneTigris LiFE Ambassador
